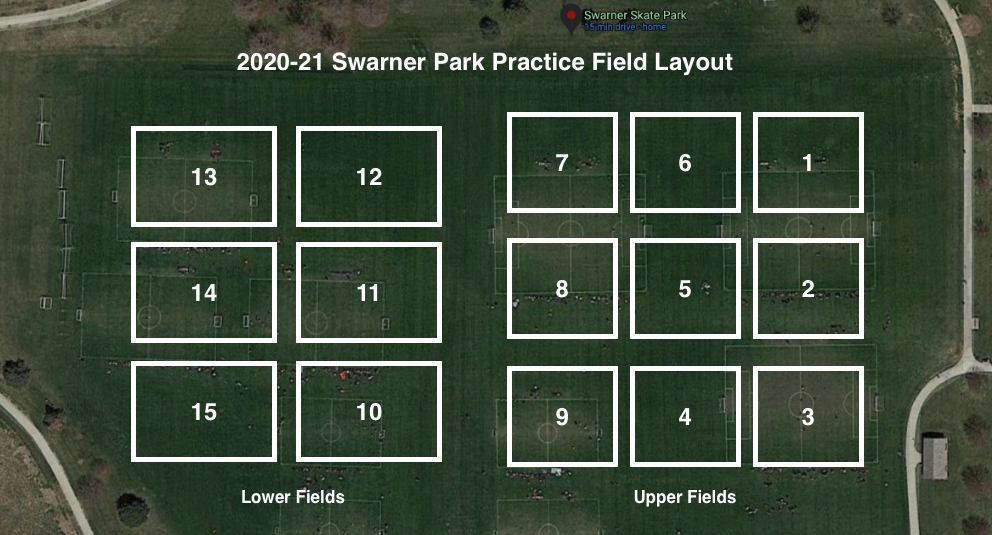
Swarner Park
5:15 PM – 6:45 PM
We’ll keep building on the same foundation passing, awareness, and confidence in attacking situations. This week we’re adding a new piece: checking your shoulder and using a quick turn to create a scoring chance.
Arrival Activity – Partner Passing
As players arrive, they’ll jump into partner passing.
- Two-touch
- One-touch
Focus on clean passes, good first touch, and staying active.
Foot Skills Warm-Up (5 minutes)
Quick work in a grid:
- Toe taps
- In & out
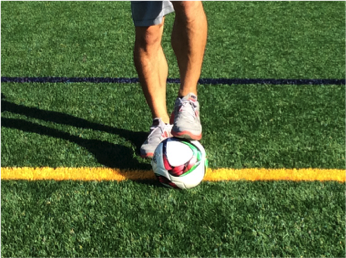
- Fake pass to 180 turn (we’ll demonstrate)
- Change of speed
Keep it short and sharp.
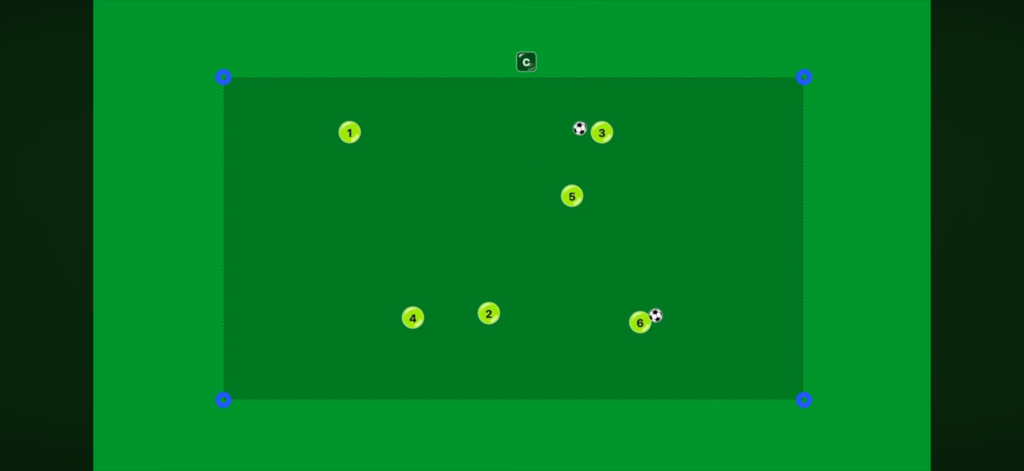
Multi-Directional Possession
Split the group:
Group 1 (max 10 players):
Multi-Directional Possession
- Movement, spacing, quick decisions
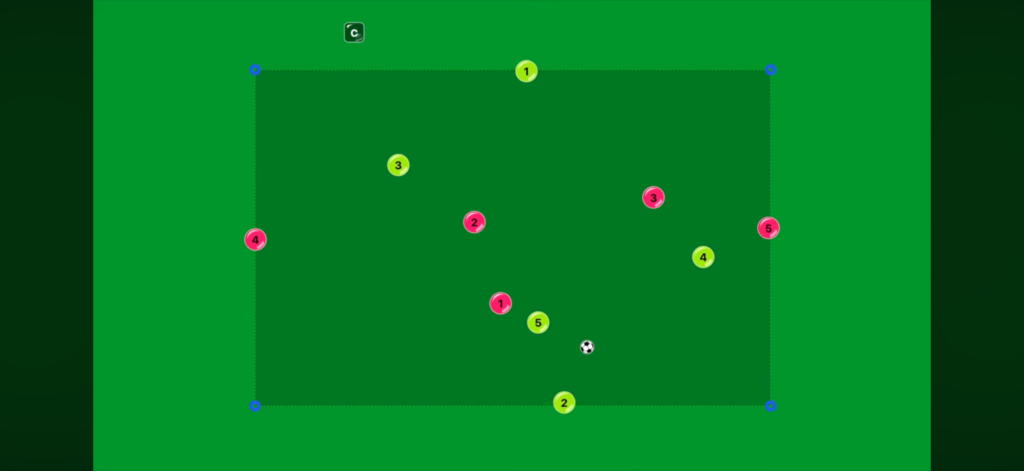
Group 2:
Rondo – Rotate stronger players into separate Rondo.
- Quick passing
- Supporting angles
- Staying active
Basico Passing with Dummies
8 players needed
Players pass using dummies as defenders.
- Scan before receiving
- Scan again after receiving
- Play quickly
- Move immediately to next spot
Focus: look, receive, play, move
1v1 Fields (10–12 minutes)
Two fields with small goals, grouped by skill level.
Focus on:
Defending
- Close space quickly
- Stay balanced
Attacking
- Be patient
- Small touches
- Head up
- Explode when defender commits
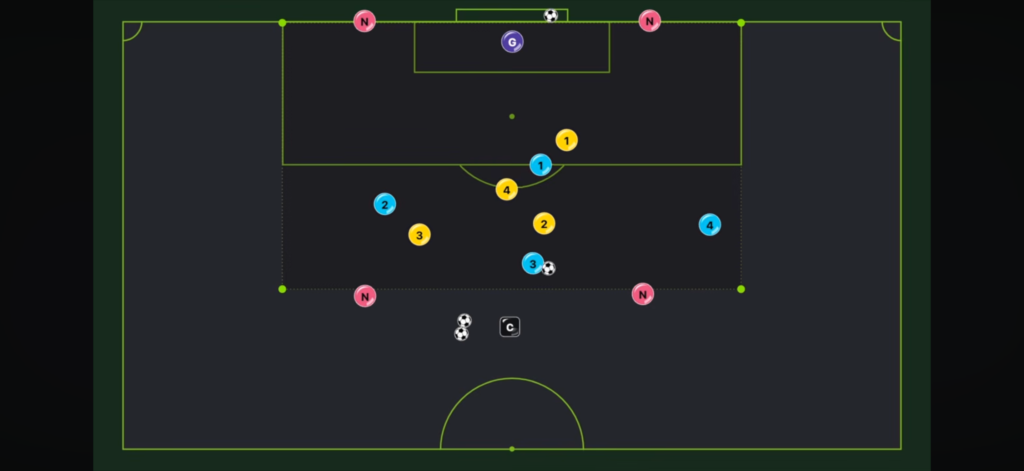
2v1 Gauntlet (10–12 minutes)
Same setup as last week.
- Attackers go 2v1
- Defender can step up but cannot cross a set line
Focus on:
- Passing to beat pressure
- Timing runs
- Decision-making
Shoulder Check + Turn to Finish (10 minutes) 🔄
Setup:
- Small gate with cones
- Coach plays ball to attacker
- Attacker checks to the ball and receives through the gate
- Defender starts behind and chases
As the ball comes in:
- Attacker checks their shoulder
- Defender applies pressure
- Attacker can use 180 turn to create space
- Finish on goal
Coaching points:
- Check shoulder early
- Use your arm to feel and protect space
- Go the opposite way of the defender
- Be quick once you turn
Final Scrimmage (20 minutes) ⚽
Let them play.
Encourage:
- Spacing
- Movement
- Confidence
- Trying the turn or moves we worked on
Focus for the Day
- Check your shoulder before receiving
- Play quickly after the first touch
- Use turns to escape pressure
- Be patient, then explode